Interior Painting Guide From Prep to Final Coat for 2027
Clear the room, repair the walls, prime, cut in the edges, roll even coats, and check the finish in daylight. That order is this interior painting guide in short: prep first, two coats next, and daylight last, because most rushed jobs go wrong in the prep, not the painting.
Light colors make a small room feel larger, warm colors make a large room feel cozy, and a clean finish makes old trim and doors look cared for again. The paint itself is only part of the result, though, and the prep underneath it decides whether the job still looks good in two years. The prep underneath it is what this interior painting guide spends most of its words on.
Most poor paint jobs fail before the can is opened, because walls were dirty, holes were left unfilled, or the wrong finish was used in a damp room.
The focus stays on the work that matters, as it should in any interior painting guide worth reading. You will learn how much paint to buy, which tools are worth the money, when primer is truly needed, and how to roll a wall so the finish looks even from every angle. It also covers drying times, real costs, and the mistakes that force a third coat.
How Do You Plan an Interior Painting Project?
Start with one room, not the whole house. A single room lets you learn the rhythm of cutting in and rolling, and it gives you a finished result to judge before you buy paint for the next room.
Follow that order in every room. Top down is how every interior painting guide I trust starts, because drips land on unpainted walls.
Work from the top of the room down. Paint the ceiling first, then the walls, then doors and trim last. Drips from the ceiling land on unpainted walls below, where the next coat covers them.
Drips on finished trim are far harder to clean.
Plan the job across two days if you can. Day one is for clearing, cleaning, repairs, taping, and priming. Day two is for two finish coats with proper drying time between them.
What Tools and Paint Do You Need?
Good tools cost little and change the finish more than expensive paint does. A quality angled brush holds a sharp edge for cutting in, a sturdy roller frame stops wobble, and a thick roller cover holds enough paint to roll a full wall section without constant reloading.
Tools are a purchase that pays off in every room. A cheap brush costs you twice, once at the till and once in the finish, and that is why this interior painting guide spends a whole section on tools.
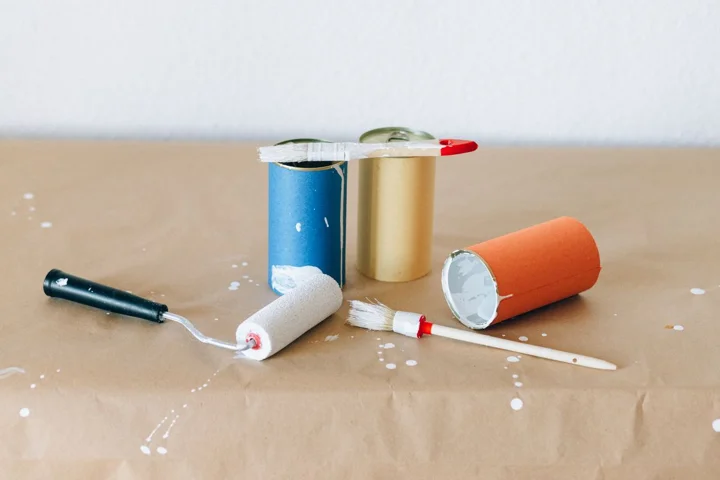
Buy paint in the finish the room needs, not the finish that looks best in the can.
Latex paint, also called water based paint, is the right choice for most interior walls because it dries fast, cleans up with water, and has a low odor.
| Tool or material | What it does | What to buy |
|---|---|---|
| Angled brush, 2.5 inch | Cuts in edges at ceilings, corners, and trim | One good synthetic brush, not a multipack |
| Roller frame and tray | Covers large wall areas fast and evenly | Sturdy metal frame, deep tray with a grid |
| Roller covers, 3/8 inch nap | Carries paint onto smooth walls | Two covers, one spare for the second day |
| Painter tape | Protects trim and gives a clean edge | One roll of quality tape, not the cheapest roll |
| Drop cloths | Protects floors and furniture from drips | Canvas cloths, which stay flat and absorb drips |
| Putty knife and filler | Fills nail holes and small cracks | One flexible knife, one tub of lightweight filler |
| Sanding sponge, 120 grit | Smooths filler and dulls glossy paint | Two sponges, which bend into corners easily |
How Do You Prepare a Room for Painting?
Clear the room as fully as you can. Move furniture to the center and cover it with a drop cloth, take pictures and curtains off the walls, and remove switch plates and outlet covers.
Wash the walls before you paint them. Wipe every wall with a damp cloth and a mild soap solution, paying attention to kitchens, where cooking grease settles, and hallways, where hands leave marks at light switch height.
Paint over dust or grease and it peels in sheets within months, no matter how good the paint is.
Tape only what you must tape. Press painter tape firmly along trim, window frames, and the ceiling line, and run a putty knife along the tape edge to seal it.
Cover floors with canvas drop cloths that overlap at the seams, and tape the cloth edges to the baseboard so they cannot slide under your feet.
How Do You Repair Walls Before Painting?
Walk each wall in daylight and mark every flaw with a small piece of tape. Nail holes, dents from furniture, hairline cracks at corners, and popped screw heads all show through a new coat if they are left alone. Fill small holes with lightweight filler pressed in with a putty knife, scrape off the excess in one smooth pass, and let it dry fully before sanding.
Put repairs before primer, because paint cannot hide a dent. That is the rule this interior painting guide opens with, and it is the one most rushed jobs break first.
Sand each patch smooth with a 120 grit sanding sponge, then wipe away the dust with a slightly damp cloth. Run your hand over the patch with your eyes closed. If you can feel an edge, the light will show it too, so sand again and dust again.
Caulk gaps where trim meets the wall and where baseboards meet the floor. Cut the tube tip small, run one steady bead, and smooth it with a wet finger in a single pass.
Let caulk dry for the time printed on the tube before painting over it.
Do You Need Primer?
Primer is not needed on every wall, but it is essential in four cases. Use primer on new drywall, on patched areas larger than a coin, over stains from water or smoke, and whenever you change from a dark color to a light color. Primer seals porous surfaces so the finish coat covers evenly, and it stops stains from bleeding through weeks after the job looks finished.
Choose the primer for the problem. A general latex primer suits new drywall and patches. A stain blocking primer suits water marks, smoke marks, and wood knots that keep showing through ordinary paint.
Tint the primer towards the finish color when you make a big color change, because tinted primer cuts the number of finish coats from three to two.
- New drywall or fresh plaster: prime the full wall, never spot prime only.
- Patched walls: prime every patch with a small roller, not a brush, or patches flash through as dull spots and show as squares.
- Stains and smoke marks: use stain blocking primer, not extra finish coats.
- Dark to light color change: tint primer towards the new color.
- Sound walls in the same color family: primer is optional, not required.
How Do You Cut In Clean Edges?
Cutting in means painting the edges a roller cannot reach, along ceilings, corners, baseboards, and around doors and windows. Load only the lower third of an angled brush, tap off the excess on the side of the can, and hold the brush like a pencil with the long bristles leading, then draw a steady line about 2 inches from the edge first, and bring the brush back to the edge in a second smooth pass. Paint the ceiling first, then walls, then trim, because that order is what this interior painting guide follows.
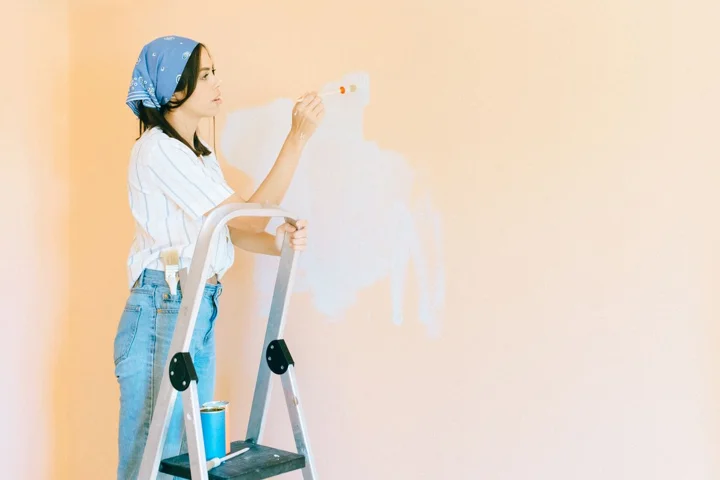
Work one wall at a time and roll while the cut in edge is still wet. If the edge dries before rolling, the two areas dry at different rates and leave a visible frame around each wall, which painters call picture framing. Cut in one wall section, roll it, then move to the next section.
Keep a damp cloth in your pocket for instant cleanups. A drip on trim wipes off easily while it is wet and needs sanding once it dries.
Steady hands matter less than a steady pace, so slow down at corners and speed up only on long straight runs.
Keep cutting in and rolling in the same pass, wall by wall. Wet edges are the difference between a flat finish and lap marks, and any interior painting guide that skips them is not worth following.
How Do You Roll Walls Without Streaks?
Load the roller properly before it touches the wall. Dip the roller in the tray, roll it on the grid until the cover is evenly coated, and stop before it drips, because an overloaded roller slides paint down the wall in runs, while a starved roller leaves a dry patchy texture. Use a 3/8 to 1/2 inch nap on smooth walls, and a 1/2 to 1 inch nap on rough or stippled walls.
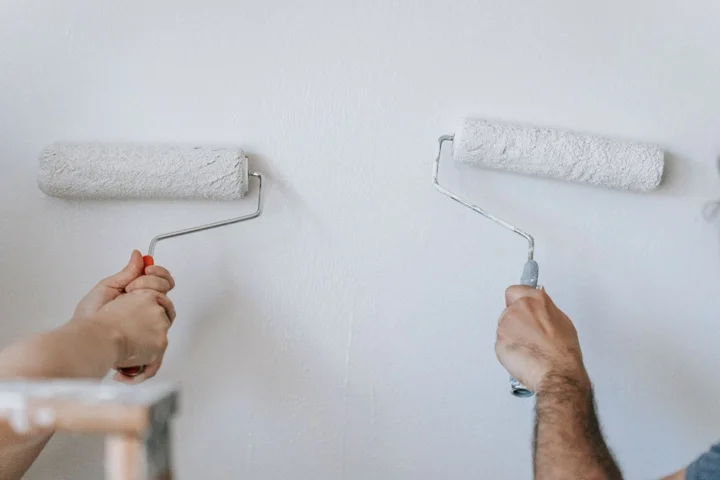
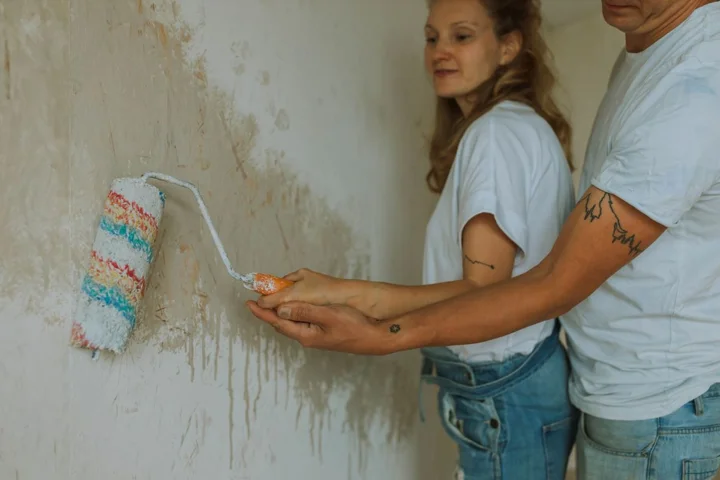
Roll in a W pattern across a section about 3 feet wide, then fill the shape with straight vertical passes without lifting the roller. Keep a wet edge by overlapping each new section into the previous section while it is still damp, and roll from the dry area into the wet area, so the roller never leaves a hard line where a section ended. Finish each section with one light pass in the same direction, called laying off, so the paint texture lines up and the finish looks even.
Two thin coats always beat one thick coat. A thick coat sags, takes far longer to dry, and still shows the old color through thin spots. Let the first coat dry for the recoat time printed on the can, then roll the second coat in the same order, ceiling first if ceilings are included, then walls.
Favor two thin coats over one thick coat every time. One thick coat sags, cracks, and peels sooner, and that is the mistake this interior painting guide warns about most.
How Much Paint Do You Need?
Most interior latex paint covers 350 to 400 square feet per gallon in one coat on a smooth primed wall, a figure the Sherwin Williams SuperPaint data sheet prints, and guides from paint retailers repeat. Measure each wall, height times width, add the walls together, and subtract about 20 square feet for each standard door and 15 square feet for each standard window.
Use the can coverage figure, then round up for touch ups. Running short on a Sunday is the oldest story in interior painting, and any interior painting guide worth its salt says to round up.
Take a real example. A bedroom 12 feet by 14 feet with 8 foot ceilings has a wall perimeter of 52 feet, which gives 416 square feet of wall before doors and windows. Subtract one door and two windows, about 50 square feet, and the paintable area is about 366 square feet.
At 350 square feet per gallon, one coat needs just over 1 gallon, so two coats need just over 2 gallons.
| Room | Paintable wall area | Paint for two coats |
|---|---|---|
| Small bathroom | About 200 square feet | 2 gallons |
| Bedroom 12 feet by 12 feet | About 350 square feet | 2 to 3 gallons |
| Bedroom 12 feet by 14 feet | About 366 square feet | 3 gallons |
| Living room 15 feet by 20 feet | About 560 square feet | 4 gallons |
If you want a sense of what a professional would charge for the same room, the cost to paint a room varies mainly with room size, ceiling height, and prep work. The figures in the next section put that range in context, so you can judge whether doing it yourself is worth your weekend.
How Do You Choose Paint Color and Finish?
Test colors on the wall, never on a small card alone. Paint three large test patches, each about 2 feet square, on different walls of the room, and live with them for two full days. Colors shift with daylight, lamp light, flooring, and furniture, so a shade that looks soft in a shop can look cold beside a gray sofa.
Pair color choice with finish choice, because both change how a room feels. A dark flat in a bathroom is a mistake this interior painting guide sees too often.
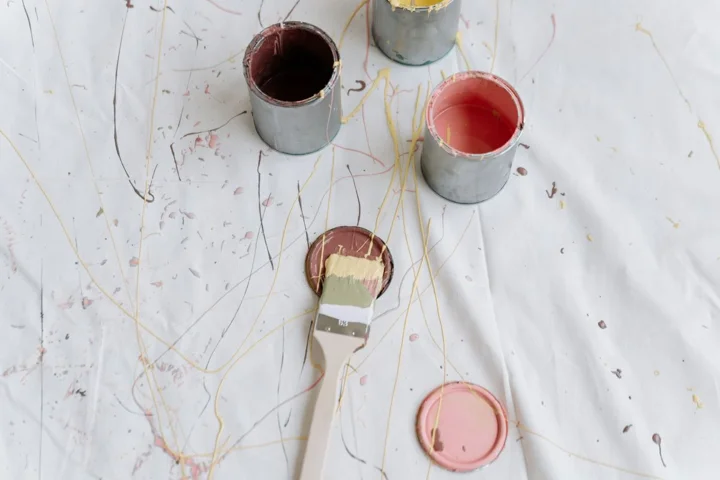
Match the finish to the room, not just the color.
If you are still weighing the full job, reading how to save money painting a room before you shop can cut waste on paint, tools, and extra coats.
| Finish | Look | Best rooms |
|---|---|---|
| Flat | Dull, no shine | Ceilings, low traffic bedrooms |
| Eggshell | Soft low glow | Bedrooms, living rooms |
| Satin | Gentle sheen, wipes clean | Hallways, family rooms |
| Semi gloss | Noticeable shine, tough skin | Kitchens, bathrooms, doors, trim |
How Long Does Paint Take to Dry?
Drying and curing are different things, and mixing them up ruins finishes. Dry to touch means the surface feels dry, recoat time means the next coat can go on safely, and cured means the paint has hardened fully and can be scrubbed. Latex paint feels dry in about 1 hour and can usually be recoated after 4 hours, while oil based paint feels dry in 6 to 8 hours and needs a full 24 hours before recoating.
Wait for the recoat time on the can, not for a guess. Paint that feels dry is not cured, and rushing it is how an interior painting guide earns its warnings.
Conditions change every number on the can, because the 4 hour recoat time is measured at 77 degrees Fahrenheit and 50 percent humidity, and a cold or damp room stretches it. Paint dries slowest in cold damp rooms, so keep the room between 50 degrees Fahrenheit and 85 degrees Fahrenheit with steady airflow from an open window or a fan.
Latex paint fully cures in 2 to 4 weeks, so wait before scrubbing a new wall or pressing tape and furniture against it.
| Paint type | Dry to touch | Recoat after | Fully cured |
|---|---|---|---|
| Latex, water based | About 1 hour | About 4 hours | 2 to 4 weeks |
| Oil based | 6 to 8 hours | 24 hours | Up to 30 days |
What Does Professional Painting Cost?
Angi 2026 cost data puts the national average cost to paint a room at about $1,100, with most homeowners spending $400 to $1,600 and professional rates running $2 to $6 per square foot. Labor is the largest share of any quote, which is why a room with heavy prep, stain blocking, and repairs costs far more than a room in good condition.
Doing it yourself changes the math but not the time. Improovy 2026 survey data puts the average cost to paint a room yourself at about $412 when you already own the tools, rising to about $736 when you must buy brushes, rollers, drop cloths, and tape as well.
Compare quotes by scope, so a cheap quote cannot hide skipped prep. Two quotes for the same room can differ by hundreds, and this interior painting guide compares them line by line, not by the bottom number.
External sources for these figures are Angi and Improovy.
Brushes and rollers worth buying
Two names keep coming up in pro guides, and they are worth knowing before you buy, and the Purdy XL 2.5 inch angled sash brush is the cutting in brush most pros reach for, because the angled bristles hold a straight line at the ceiling and the brush holds enough paint to cut a long run without reloading. The Wooster 9 inch roller frame with a 3/8 inch nap cover suits smooth drywall, which is what most interior walls are, and a Purdy White Dove 9 inch cover is the matching cover if you want a lint free finish. Buy the brush once and clean it properly, because a good brush outlasts a dozen cheap ones.
A cheap roller cover sheds fibres into wet paint that you will find only after it dries. If you buy only one brush, make it the Purdy, because that is the brush a pro reaches for first.
What Mistakes Should You Avoid?
Most paint failures trace back to a short list of avoidable errors.
Each mistake costs a full extra day, because fixing it means sanding back, repriming, and recoating.
Treat prep as the job, and painting as the reward. Prep is most of the work and most of the result, which is why this interior painting guide spends more words on it than on the rolling.
- Skipping wall washing, so paint peels off dust and grease within months.
- Rolling over a dry edge, which leaves lap marks that show in daylight.
- Painting in a cold or damp room, which stretches drying time for days.
- Leaving tape on until paint fully cures, which tears the new edge off.
- Stirring paint poorly, so color and sheen vary across the wall.
- Storing leftover paint in a hot garage, which ruins it before touch ups.
How Do You Finish, Inspect, and Clean Up?
Peel tape while the final coat is slightly tacky, pulling slowly at a 45 degree angle away from the painted edge. Refit switch plates and outlet covers only after the paint feels fully dry, and move furniture back only after a day, keeping soft items off the walls until curing finishes.
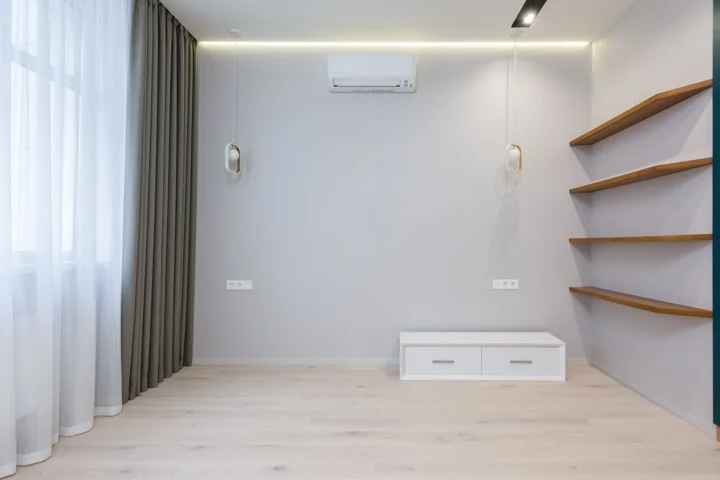
Inspect every wall in daylight before you call the job done. Stand at an angle to each wall and look for missed spots, drips, roller lines, and thin patches near corners. Touch up small flaws with a brush and a light coat, not a thick dab, because a thick touch up shows as a raised patch.
A good paint job ends with a slow inspection, a clean room, and paint that stays put. Walk the room with a flashlight at a low angle, as this interior painting guide suggests, and the flaws you missed in daylight will show themselves.
Safety note: use a stable step ladder, never a chair, and keep three points of contact when reaching high walls. Open windows and wear a dust mask when sanding, and stop and get advice if your home was built before 1978 and paint may contain lead, because sanding lead paint without proper controls is a health risk. For a full home care routine after painting, the home maintenance checklist sets out seasonal tasks that protect fresh paint, and the DIY basics guide covers the core skills behind this project.
Sources for this interior painting guide: Angi interior painting cost guide, national average about $1,100, most homeowners $400 to $1,600; Improovy interior painting cost survey, about $412 do it yourself with tools owned, about $736 buying tools; Sherwin Williams SuperPaint data sheet, coverage 350 to 400 square feet per gallon. All three links open the publisher guides directly.
Related guides
- How Much Does It Cost to Paint a Room? 2027 Price Guide
- How to Save Money Painting a Room
- How to Paint Living Room Walls Like a Professional for 2027
- Best Paint for Living Room Walls: Types and Finishes for 2027
- How Much Paint for Living Room Walls in 2027
- Living Room Walls Painting Mistakes to Avoid in 2027
- Paint Drying Time Living Room Walls Explained for 2027
- How Much Does Interior Painting Cost? 2027 Price Guide
Frequently Asked Questions
Do I need to prime walls before painting?
Use primer for new drywall, large patches, stains, and big color changes, because primer seals porous surfaces and stops stains bleeding through. Sound walls in a similar color can skip primer and still finish well with two finish coats. Primer is cheap insurance, and that is how this interior painting guide treats it: a gallon now saves a gallon later.
How many coats of interior paint do I need?
Most rooms need two finish coats over primer or over a sound existing coat. A third coat is only needed for a drastic color change or a very deep shade that still shows patchiness after two coats.
How long should I wait between coats of paint?
Wait about 4 hours between latex coats and 24 hours between oil based coats, or follow the recoat time printed on your can. Painting too soon drags the soft first coat and leaves roller marks that need sanding out.
Can I paint over a dark wall with a light color?
Yes, if you prime first with a primer tinted towards the new color. Expect two finish coats after primer, and test the color on a large patch before committing to the full room.
What is the best paint finish for a bathroom?
Semi gloss or satin suits bathrooms best, because both resist moisture and wipe clean. Flat paint marks easily in damp rooms and shows water spots that are hard to wash off.