Living Room Walls Painting Mistakes to Avoid in 2027
Most living room walls painting mistakes come from rushed prep, an untested color, the wrong finish, or a second coat rolled on too soon. Fix those four, and the walls stay smooth with color that holds true in daylight and lamplight. My neighbor learned it the hard way, staring at roller marks after one Friday night paint job.
A living room gets more attention than any other room in the home. Guests see it first, family members spend evenings in it, and photographs of it show every flaw. That is why a small painting error that would pass unnoticed in a closet stands out here.
The mistakes below are the living room walls painting mistakes that cause most repaints, each with the fix that prevents it.
The good news is that most painting failures are predictable. They follow the same few patterns, and each one has a simple fix. Read through the mistakes before you open a can, and you can avoid the rework that turns a weekend project into a second weekend project.
Why Do Small Painting Errors Show Up So Clearly in a Living Room?
Living rooms have large, open wall areas with few breaks. A bedroom wall is often hidden behind a bed and wardrobes, but a living room wall runs uninterrupted from one corner to the next. Any streak, patch, or uneven sheen catches the eye across that open space.
In short, living room walls painting mistakes have nowhere to hide.
Light makes the problem worse. Sunlight from windows moves across the wall during the day, and lamps light it from a different angle at night. A finish that looked even in the morning can show lap marks and roller texture in the evening.
Testing and technique matter more here than in any other room.
What Are the Living Room Walls Painting Mistakes to Avoid?
The eleven mistakes below cover the full job, from choosing a color to the final coat. Work through them in order, and use the checklist near the end to check each one off before you start.
1. Skipping Wall Preparation
Wash, fill, and sand before you paint. Preparation is the step most people rush, and it is the step that causes the most failures. Dust, grease, and old gloss stop new paint from gripping the wall. Paint applied over a dirty surface can peel, bubble, or flake within months, even when the paint itself is good quality.
Good prep work is simple but it takes time. Wash the walls with a mild detergent solution and let them dry fully. Fill nail holes and small cracks with spackle, sand the repairs smooth, and wipe away the dust with a damp cloth.
Remove outlet covers and light switch plates before you paint, rather than painting around them. Tape off trim, windows, and door frames with care. A clean, smooth, dry wall is the foundation every later step depends on.
Homeowners who skip this stage meet the first of the living room walls painting mistakes: peeling and flaking within months.
2. Choosing a Color From a Tiny Chip
Paint a two foot test patch on the wall instead of trusting the chip. A color chip is about one inch wide, and it is lit by bright store lighting. That is a poor preview of how a color will look across a whole wall in your home. A color that looked perfect in the store and wrong at home is where many living room walls painting mistakes start.
Buy sample quarts of your top two or three colors and paint a large test patch on each wall you plan to paint. A patch about two feet by two feet gives you enough area to judge the color properly. Live with the patches for at least two days, and look at them in morning light, evening light, and lamplight.
Check the color against your sofa, rug, curtains, and wood tones, not against a white store wall. A warm gray can turn pink beside a red rug, and a cool blue can turn icy in a room with little sun. Testing takes a few days, but it is far cheaper than repainting a whole room.
3. Ignoring How Light Changes Color
North facing rooms receive cooler, bluer light, while south facing rooms receive warmer, yellower light. A standard warm white bulb at about 2700K makes paint look very different from a neutral white bulb at about 4000K. Bulb makers label 2700K as warm white and 4000K as neutral white, so check the number on the box rather than the name. The same can of paint can look like two different colors in two rooms.
That shift in light is why color sits behind so many living room walls painting mistakes.
Test patches solve this problem, but only if you test them in the right places. Paint your test patches on the wall that gets the most light and on the wall that gets the least. If a color works on both, it will work across the room.
4. Picking the Wrong Paint Finish
Color gets all the attention, but the paint finish decides how the wall looks and how it wears. Flat paint hides small wall flaws well, but it marks easily and it is hard to clean. That is a poor match for a busy living room with children, pets, or frequent guests.
Eggshell and satin finishes suit most living rooms. They hide minor flaws reasonably well, they wipe clean with a damp cloth, and they give the wall a soft glow without a shiny glare. Semi gloss is tougher still, but it shows every bump and repair, so it suits trim better than large wall areas.
Choosing the finish with the same care as the color prevents the living room walls painting mistakes that only show up after months of use.
5. Skipping Primer When the Wall Needs It
Primer seals repairs, blocks stains, and gives the topcoat a uniform surface to grip. Skipping it on patched drywall, stained walls, or a bold color change leads to patchy coverage and extra topcoats. In the worst cases the old color shows through and the finish looks blotchy.
You can often skip a full primer coat when repainting a similar color over a sound, clean wall in good condition. You should prime patched areas, new drywall, water stains, and any wall going from a dark color to a light one. For deep colors, a gray tinted primer reduces the number of topcoats you need.
A single primer coat in the right places is a small job that stops living room walls painting mistakes across the whole wall.
6. Buying Cheap Brushes and Rollers
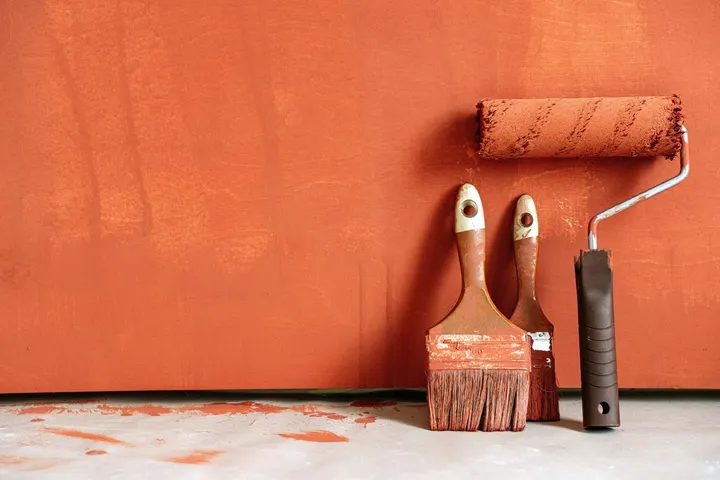
Cheap tools cost more than good ones in the end. A low quality brush sheds bristles into wet paint, and a cheap roller cover sheds lint and leaves an uneven texture. Both flaws stay visible after the paint dries, and fixing them means sanding and repainting.
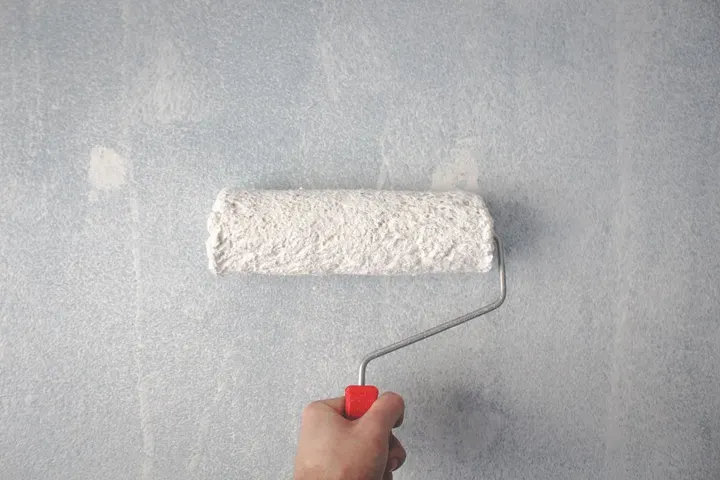
Buy a good angled brush for cutting in around ceilings, corners, and trim, and a quality roller cover matched to your wall. Smooth walls need a short nap roller, about three eighths of an inch, while lightly textured walls need a longer nap so the paint reaches into the low spots.
Good tools do not guarantee a perfect finish, but they remove a whole group of living room walls painting mistakes at once. Cost belongs in the same conversation. Aapka Painter lists underestimating the true cost of the job among the common painting mistakes, and it is easy to see why. Paint is only part of the bill, and primer, rollers, tape, and drop cloths all add up. Cheap paint earns the same warning. A thin budget paint can need a third coat, and that third coat costs more than the saving on the can.
7. Painting Over Problems Instead of Fixing Them
Paint hides color, not damage. Cracks, peeling paint, and wallpaper seams all show through a new coat, often worse than before, because the fresh paint draws the eye to the surface. Painting over wallpaper is a common version of this mistake, since seams and patterns tend to show and bubble over time.
Fix the surface first. Scrape loose paint, fill cracks, and strip wallpaper that is lifting or damaged. If a wall has a water stain, find and fix the leak before you paint, or the stain will return through the new coat.
Homes built before 1978 need extra care. Paint in older homes may contain lead, and sanding or scraping it creates lead dust that is harmful, especially to children.
The United States Environmental Protection Agency advises lead safe work practices for pre 1978 homes, and its Renovation Repair and Painting Rule sets requirements for firms working on such homes when the work disturbs more than 6 square feet of interior painted surface in a room. If you suspect lead paint, test first or hire a certified lead safe firm.
8. Losing the Wet Edge and Leaving Lap Marks
A lap mark is a darker band where fresh paint overlaps paint that had already started to dry. It happens when a painter works too slowly, paints in direct sun or heat, or rolls back over a section that has begun to set. Once dry, lap marks are hard to hide without another full coat.
Keep a wet edge by working in sections about three feet wide, from top to bottom, and overlapping each new section into the wet paint of the last one. Load the roller evenly, roll in a steady W pattern, and then lay the paint off with light vertical strokes while it is still wet.
A steady pace and a wet edge keep lap marks, one of the common living room walls painting mistakes, off the wall.
Do not roll back over drying paint to fix a thin spot. Wait for the coat to dry fully, then fix it with the next coat. Overworking wet paint causes streaks, lifted paint, and uneven sheen that no amount of touching up will smooth out.
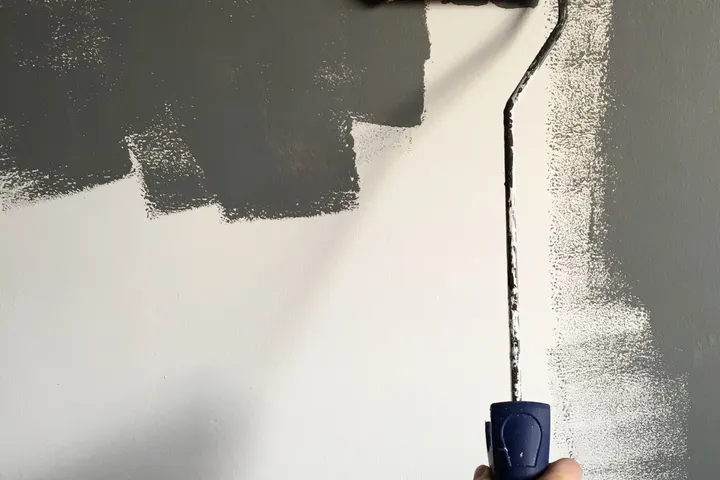
9. Recoating Too Soon and Applying Coats Too Thick
Paint that feels dry to the touch is not ready for a second coat. Recoating too soon drags the first coat, traps moisture, and creates peeling and uneven texture. Thick coats cause the same problems, because the surface skins over while the paint underneath stays soft.
Follow the recoat time on your own can, since times vary by product. As a guide, Sherwin Williams interior latex paints such as Emerald and SuperPaint list about 1 hour to touch dry and about 4 hours before recoating, measured at 77 degrees Fahrenheit and 50 percent relative humidity. Cold or damp air stretches every one of those times.
Apply two thin, even coats rather than one thick coat. Thin coats dry evenly, cover better in total, and leave a smoother finish. A gallon of interior wall paint typically covers about 350 to 400 square feet per coat on smooth walls, according to Sherwin Williams SuperPaint data, so plan your quantity from the wall area, not from guesswork.
Remember that dry is not the same as cured. Benjamin Moore notes that latex paint takes about 30 days to cure fully, so treat freshly painted walls gently for the first few weeks and avoid scrubbing them hard.
10. Rushing the Edges, Trim, and Cleanup
Sloppy edges undo good rolling. Paint on the ceiling, wobbly lines at the trim, and drips on the floor make a room look unfinished even when the main walls are well painted. Most of these errors come from rushing the final hour of the job.
Edges take patience. Rush them and the wobbles join the living room walls painting mistakes visible from across the room.
Cut in first with a brush along ceilings, corners, and trim, then roll up to the brushed band while it is still wet. Use painter tape on trim and windows only where it helps, press the tape edge down firmly, and remove the tape while the paint is still slightly tacky so it does not peel the new paint away.
Protect floors and furniture with drop cloths before you start, not after the first drip. Keep pets out of the room until the paint is dry, and close the can lid between pours so paint does not skin over or spill.
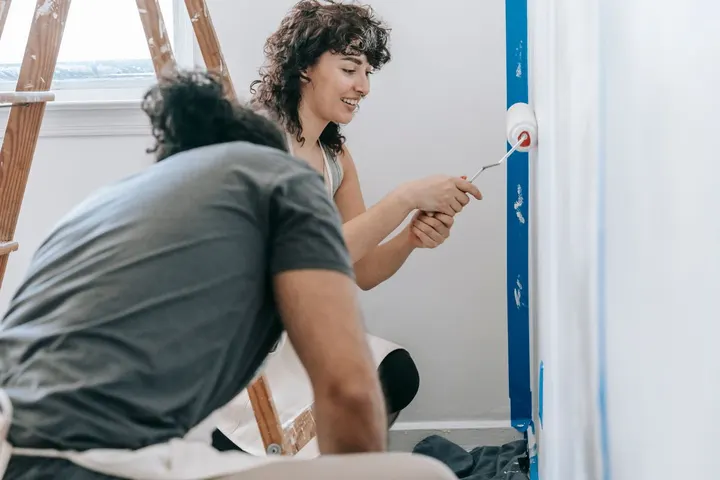
11. Painting in the Wrong Temperature or Humidity
Paint needs the right conditions to level out and bond. Cold air slows drying until paint stays tacky for hours, while hot, dry air makes paint dry mid stroke and leaves lap marks. High humidity has the same slowing effect as cold air.
Most interior latex paints apply best between about 50 and 85 degrees Fahrenheit with moderate humidity. Avoid painting a wall in direct sun through a window, and avoid painting on a very humid day with the windows closed and no air movement.
Waiting for the right day is the simplest way to avoid living room walls painting mistakes caused by weather and humidity.
A Real Room Example: One Living Room, Four Avoidable Errors
Consider a 14 foot by 18 foot living room with one large north facing window, a gray fabric sofa, and walls previously painted in a warm beige. The owner chose a cool gray from a store chip, skipped primer over patched nail holes, and rolled one thick coat on a humid afternoon.
The result was predictable. The cool gray looked icy in the north light, the patched spots showed as dull patches through the single coat, and the thick coat stayed tacky into the evening. A second weekend fixed it: sample patches tested on two walls, spot primer on every repair, and two thin coats applied on a dry day with the room at about 72 degrees Fahrenheit.
Every error in that room belongs on any list of living room walls painting mistakes, because a test, a primer coat, or thinner coats would have prevented each one.
The fix cost one extra weekend and one extra gallon of paint, plus sample quarts. The original job would have succeeded the first time if the color had been tested, the repairs primed, and the coats kept thin with proper drying time between them.
Mistake, Sign, and Fix at a Glance
Every row below is one of the living room walls painting mistakes above, with the sign to look for and the fix that stops it.
| Mistake | What you see | The fix |
|---|---|---|
| Skipped preparation | Peeling and flaking | Wash, fill, sand, and dry the wall first |
| Untested color | Wrong shade at home | Paint large test patches on two walls |
| Wrong finish | Marks that will not wipe off | Use eggshell or satin in living rooms |
| Skipped primer | Patchy and blotchy coverage | Prime repairs, stains, and color changes |
| Cheap tools | Bristles and lint in the finish | Buy quality brushes and matched roller covers |
| Lost wet edge | Dark lap marks | Work in small sections and overlap wet paint |
| Recoating too soon | Dragging and peeling | Wait the full recoat time on the can |
| Wrong conditions | Tacky or streaked paint | Paint in mild temperatures and moderate humidity |
A Simple Painting Day Checklist
Use this checklist in order, and do not open a can until every preparation item is done.
- Move furniture to the center of the room and cover it and the floor with drop cloths.
- Remove outlet covers, switch plates, and wall hangings, and tape off trim and windows.
- Wash the walls, fill holes and cracks, sand the repairs smooth, and wipe away all dust.
- Prime every repair, stain, and bold color change, and let the primer dry fully.
- Paint large test patches of each shortlisted color and check them in daylight and lamplight.
- Cut in around ceilings, corners, and trim, then roll each wall in sections while keeping a wet edge.
- Apply two thin coats, waiting the full recoat time between coats, and remove tape while the final coat is still slightly tacky.
- Let the room ventilate gently, keep pets away until the paint is dry, and store leftover paint for touch ups.
This order stops most living room walls painting mistakes before they start. The checklist takes an extra hour at the start, and it saves a full repaint at the end.
When to Hire a Professional Instead
Some jobs are better left to a professional painter. Tall walls that need a high ladder, extensive peeling or water damage, and any suspected lead paint in a pre 1978 home all call for professional help. A professional also makes sense when the room has detailed trim or a finish that needs spraying for a flawless result.
Knowing when to stop is part of avoiding living room walls painting mistakes, and calling a pro is not a sign of failure.
Safety Notes Before You Start
Painting is low risk work, but a few safety steps matter. Ventilate the room well, especially with oil based products, and keep paint and solvents away from children and pets. Use a stable step ladder on a flat floor, never climb on furniture, and ask for help with high walls.
Safe work habits protect your health while you paint, and they keep living room walls painting mistakes from piling up too.
Old paint deserves a test before a sander. If your home was built before 1978, assume the paint may contain lead until testing otherwise.
Avoid dry sanding or dry scraping old paint, keep children and pregnant women away from the work area, and hire a certified lead safe firm for larger or high dust work. When in doubt, test first and paint second.
The Ceiling and Trim Mistakes Nobody Photographs
Ceilings get forgotten until the walls are done, and then every flaw shows. Roll the ceiling in the same direction as the light from the main window, or the lap marks will catch the light all day.
Paint the ceiling before the walls, not after, because ceiling drips land on fresh wall paint and leave a scar you have to sand out. If the room is changing color, paint the ceiling too. A bright white ceiling next to a new wall color makes the walls look dirty by comparison.
Trim takes the same beating. Flat paint on trim scuffs the first time a chair brushes it, so use satin or semi gloss on baseboards and door frames.
Tape the trim before you roll the walls, and pull the tape while the paint is still slightly wet so it does not tear a strip off with it. Run a thin bead of caulk along the gap where the trim meets the wall before you paint, or the shadow line will read as a crack.
The Accent Wall That Fights the Room
An accent wall works when it is the wall your eye lands on first, usually the one behind the sofa or the bed. It fails on the wall with the television, the door, or the biggest window, because the color has to compete with a black screen or bright light.
Test a deep color on a large piece of card and look at it in the evening, under the lamps you actually use. Colors that look rich in the shop turn muddy in warm lamplight. Deep colors also need a tinted primer and a full second coat, or the first coat shows through as a patchy gray wash.
Related guides
- How to Paint Living Room Walls Like a Professional for 2027
- Best Paint for Living Room Walls: Types and Finishes for 2027
- Interior Painting Guide From Prep to Final Coat for 2027
- Bedroom Walls Painting Mistakes to Avoid in 2027
These guides cover the rolling technique in detail, so read them alongside this article if any step here feels unfamiliar.

Frequently Asked Questions
What is the most common mistake when painting living room walls?
Skipping preparation is the most common mistake. Dirty, glossy, or damaged walls stop paint from bonding, so the finish peels, bubbles, or looks patchy even with good paint. Wash, repair, sand, and prime the wall before the first topcoat goes on.
How do I test a paint color before painting a whole living room?
Buy sample quarts of your top two or three colors and paint a patch about two feet by two feet on two different walls. Check the patches in morning light, evening light, and lamplight for at least two days before you buy gallons.
What paint finish is best for living room walls?
Eggshell or satin suits most living rooms. Both hide minor flaws reasonably well, wipe clean with a damp cloth, and give a soft glow without glare. Flat paint marks easily, while semi gloss shows every wall flaw.
How long should I wait between coats of wall paint?
Follow the recoat time on your own can. Many interior latex paints list about 4 hours before recoating at 77 degrees Fahrenheit and 50 percent relative humidity, and cold or damp air makes the wait longer.
Can I paint over wallpaper in a living room?
You can, but it is rarely a good idea. Seams and patterns often show through, and the paper can bubble or peel under the new paint. Strip loose or damaged wallpaper and repair the wall underneath for a finish that lasts.
Sources for the figures in this guide include Sherwin Williams interior latex product data for recoat times and coverage, Benjamin Moore guidance on latex curing time, the United States Environmental Protection Agency Renovation Repair and Painting Rule for pre 1978 homes, and practical painting guidance from Family Handyman and Yard and Gallon.