How to Save Money on Radon Mitigation in 2026
Test first, get itemized quotes from certified professionals, and pay only for the system your home needs. That is how to save money on radon mitigation without cutting corners that matter. Most jobs cost about $800 to $2,500, with a typical price near $1,200 according to the Environmental Protection Agency.
Key takeaways
- Test first. A low cost home kit can show whether you need a system at all, and it costs far less than a full installation.
- Radon mitigation cost for a standard home usually falls between $800 and $2,500, with a typical job near $1,200 according to the Environmental Protection Agency.
- Get at least three itemized quotes and compare the same parts, fan, warranty and after installation testing on each one.
- When you learn how to save money on radon mitigation, safe prep work you do yourself, such as sealing cracks and clearing access, can cut labor time without touching the system design.
- Ask about state radon programs, local grants, seasonal timing and fan running costs before you sign anything.
- Never save money by skipping testing, hiring an uncertified installer, or using a fan that is too weak for your home.
What does radon mitigation cost before you try to save?
Radon is a colorless and odorless radioactive gas that forms when uranium in soil and rock breaks down. It can enter a home through cracks in the foundation, gaps around pipes, sump pits and joints where walls meet floors. You cannot see it, smell it or taste it, so testing is the only way to know whether your home has a problem.
Take a homeowner who tests first as an example. A short term test kit costs $15 to $30 and shows whether a system is even needed. If the reading is high, three itemized quotes from certified professionals might range from $950 to $1,600 for the same home.
Picking the middle quote with the right system size, instead of the cheapest quote with an undersized fan, can save a second callout later. That sequence, test, compare, then choose, is how to save money on radon mitigation without cutting safety corners.
The Environmental Protection Agency, known as the EPA, estimates that about 1 in 15 homes has radon at or above its action level of 4 picocuries per liter, written as 4 pCi/L. The EPA also links radon to about 21,000 lung cancer deaths each year in the United States, which makes it the second leading cause of lung cancer overall and the leading cause among people who never smoked.
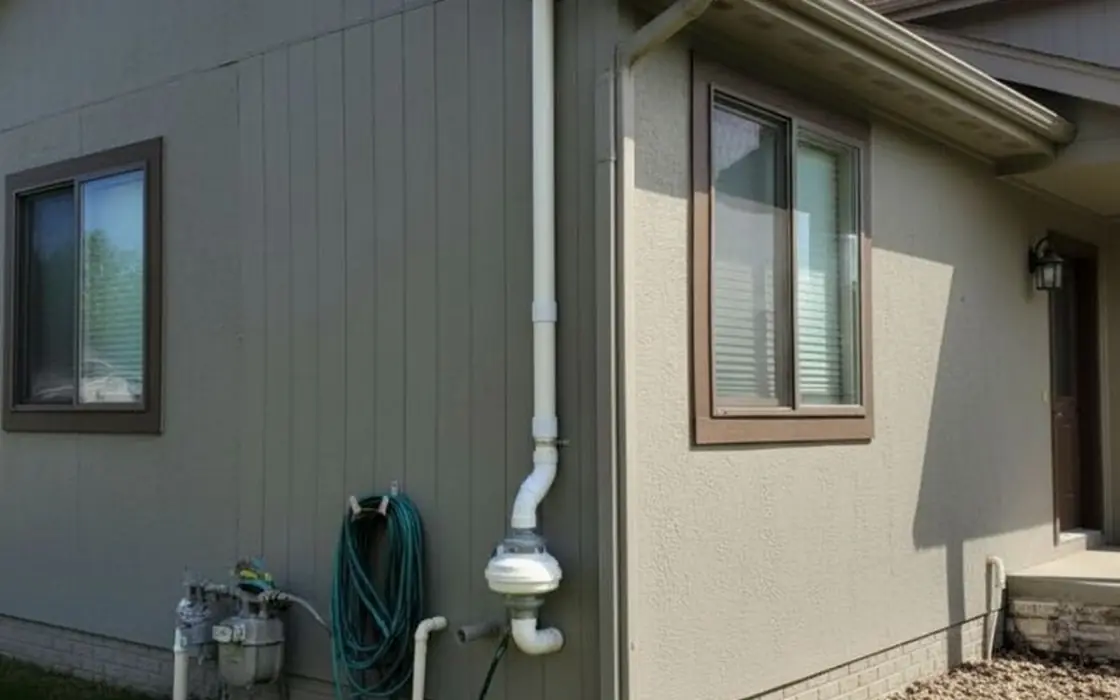
The most common fix is active sub slab depressurization. A pipe and a fan draw radon gas from below the foundation and vent it outside above the roofline, where it disperses safely in outdoor air. A passive system uses a pipe without a fan and relies on natural air movement, but it is less reliable for high readings.
A crawl space system may also need a sealed plastic sheet over the ground to stop gas rising into the home. Each method has a different price, and that is why quotes vary so much from one home to another.
Angi puts the typical radon mitigation cost near $1,043, based on cost data updated in September 2026, with most jobs between $805 and $1,326. That figure is the starting point for how to save money on radon mitigation, because every saving below is measured against it. HomeAdvisor reports a very similar average of $1,028, with most homeowners spending $786 to $1,274. The EPA range is wider, at $800 to $2,500, because it covers simple and complex homes together.
Small homes can cost as little as $395 in some HomeAdvisor data, while large or complex jobs can reach about $2,453. Knowing these ranges matters for how to save money on radon mitigation, because a quote far below the range may leave out testing, a warranty or a proper fan, while a quote far above the range may include work your home does not need.
Why is testing the cheapest first step?
The single cheapest way to approach this topic is to test before you spend anything on a system. A short term home test kit costs $15 to $30 in many stores, and some state radon programs give kits away free or at a discount. A professional test usually costs $150 to $300, and it uses a continuous monitor that records readings over at least 48 hours.
If your result is below 4 pCi/L, you may not need a system at all, and you have saved the full installation cost. If your result is between 2 pCi/L and 4 pCi/L, the EPA says to consider fixing the home, and a long term test over 90 days or more can give a clearer average before you commit.
Testing also protects you when learning how to save money on radon mitigation, because it stops you paying for the wrong system. A contractor who has your actual reading, your foundation type and your home layout can size the fan and the suction points correctly. A contractor who quotes blind may oversize the system to be safe, and you pay for that extra capacity for years.
Keep a copy of every test result, including the date, the room tested and the lab or monitor used, because a later buyer or a later contractor will ask for it. When you retest after installation, the EPA recommends a test within 30 days, and then retesting at least every two years, because soil, weather and home changes can shift readings over time.
There is one warning worth stating plainly. Sealing cracks alone does not fix a radon problem. Sealing helps a mitigation system work better by reducing air leaks, but on its own it rarely brings a high reading down to a safe level.
Anyone who tells you that caulk alone will solve a reading above 4 pCi/L is selling you a shortcut, not a solution.
How do you compare quotes without getting tricked by a low price?
Getting three or more quotes is the first practical step in how to save money on radon mitigation, and it is the advice every major cost guide repeats. Angi notes that quotes often cluster near $1,043 for a standard job, but individual quotes can still differ by hundreds of dollars. The trick is to compare the same items on each quote, not just the bottom line.
Ask each contractor to list the fan make and model, the number of suction points, the pipe route, the electrical work, the sealing work, the after installation test, the warranty length and any permit fee. A quote that looks cheap because it leaves out the after installation test is not cheaper once you pay for that test separately.
Check certification before you compare prices. Look for a contractor certified by the National Radon Proficiency Program, known as the NRPP, or the National Radon Safety Board, known as the NRSB. Some states also require their own certification or license, so check your state radon program for the rule where you live.
A certified professional follows EPA guidance, tests after installation and documents the work, which matters if you sell the home later. An uncertified installer may be cheaper on paper, but a system that fails a retest costs you twice, once for the bad job and once for the fix.
Ask each contractor what is included in the warranty and how long it lasts. A fan usually lasts 5 to 10 years, and a replacement fan costs $300 to $600 including labor in many areas. A warranty that covers the fan and the labor for several years is worth real money.
Also ask whether the quote includes a manometer, which is the small gauge that shows the system is drawing air, and a label on the pipe that warns future workers not to block it. These small items are standard on a good job, and their absence is a warning sign.

Can the right system choice save you money?
Choosing the right system, rather than the cheapest fan, is where how to save money on radon mitigation pays off most over time. A single suction point suits many homes with a basement and a simple concrete slab. A home with additions, more than one foundation type or a large footprint may need two suction points, and that adds pipe, labor and sometimes a stronger fan
Paying for a second suction point you do not need wastes money, but skipping one you do need leaves part of the home unprotected and can lead to a second visit and a second bill.
Foundation type drives much of the difference. A basement job is usually the simplest, because the pipe can run through the slab and up through the home or along an outside wall. A crawl space job often costs more, because the ground must be covered with a sealed plastic membrane and the space must be closed off so the fan can draw air properly.
A slab on grade home, which sits directly on concrete with no basement, may need a different pipe route and more careful sealing around plumbing. Ask the contractor to explain in plain words why your home needs the design quoted, and ask what would change if the foundation were different. A clear answer is a good sign.
A vague answer is a reason to get another quote.
Fan choice also affects how to save money on radon mitigation over the life of the system, because running costs add up. A standard radon fan uses about as much electricity as a light bulb left on all day, and Angi puts fan electricity and upkeep at $100 to $300 a year, depending on local electricity prices and fan size. An oversized fan uses more power every day for years, so a correctly sized fan saves money long after installation day.
Ask for the fan wattage in writing and multiply it by your electricity rate to estimate the yearly cost. That simple check can reveal that the cheapest quote is actually the most expensive system to own.
What safe prep work can you do yourself?
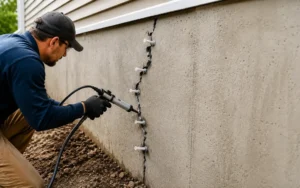
Safe prep work is one of the most practical ways to learn how to save money on radon mitigation without touching the technical design. Angi notes that sealing cracks and gaps in an unfinished basement before mitigation might save $100 to $500 in professional labor and materials. You can seal visible cracks in concrete floors and walls with polyurethane caulk made for concrete, seal gaps around pipes with expanding foam or caulk, and cover an open sump pit with a sealed lid if your contractor approves the product.
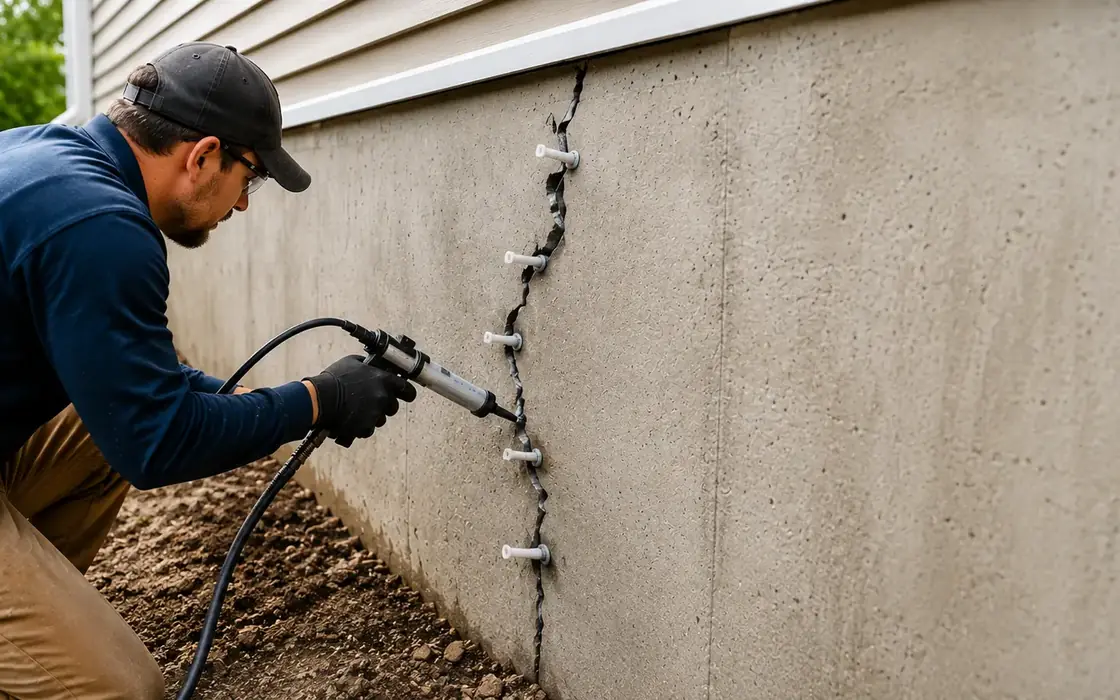
Clear the work area too. Move boxes, furniture and stored items away from the wall where the pipe will run, and clear a path to the electrical panel and the sump pit. Contractors charge for time spent moving belongings, and that time adds up.
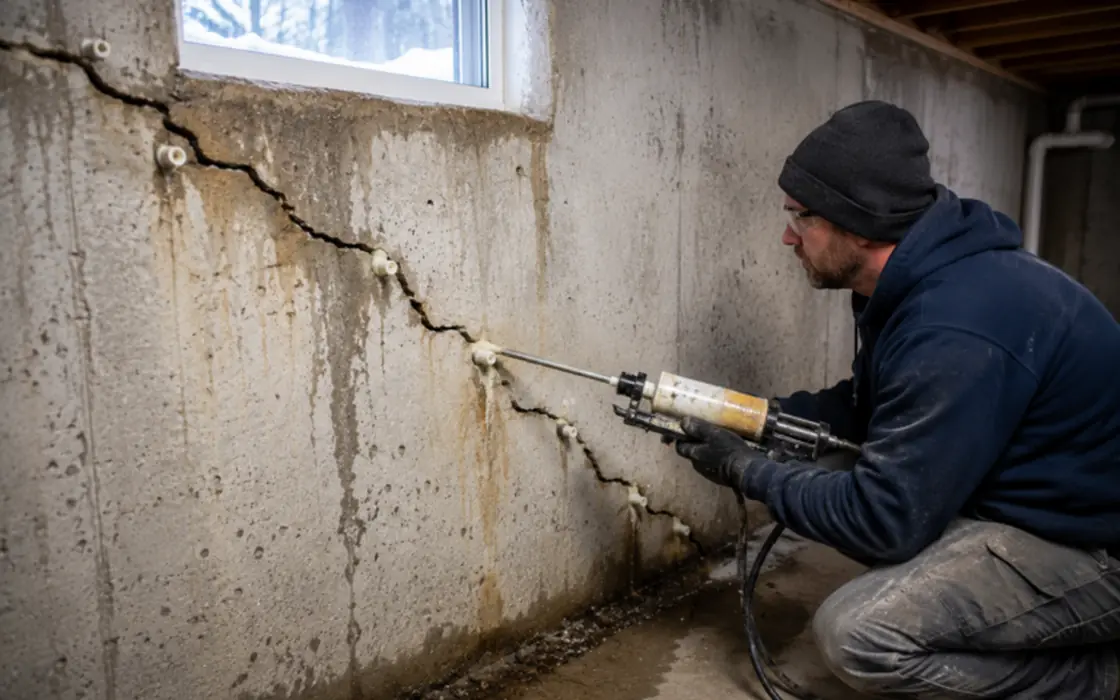
There are limits to do it yourself prep, and respecting them saves money in the long run. Do not drill through the slab, do not install the fan yourself, and do not reroute vent pipes. Radon work involves soil gas, electrical wiring and roof penetrations, and a mistake can create a leak, a fire risk or a system that looks finished but does not lower radon.
The EPA recommends hiring a qualified professional for mitigation itself, even for confident homeowners. Your job is to prepare the home and to understand the quote, not to build the system.
Are there grants, discounts or tax help for radon work?
Here is the honest picture on grants, because the old version of this section named nobody. There is no federal grant that pays a homeowner directly for radon work: the EPA State and Tribal Indoor Radon Grant program funds state and tribal programs, not individual households, by law. The money that does reach homeowners comes through three real routes.
In Colorado, the Department of Public Health and Environment runs the Low Income Radon Mitigation Assistance program. It can give a qualifying low income homeowner a free mitigation system, capped at $7,000 per application unless program management approves more, for a test result above 4 picocuries per liter, and it aimed to help up to 100 families a year. Nationally, the USDA Section 504 Home Repair program offers grants up to $10,000 to very low income rural homeowners aged 62 or older who cannot repay a loan, to remove health and safety hazards, which a radon system can be, plus 1 percent loans up to $40,000.
In Vermont, the Burlington Lead Program offers forgivable loans and grants to households under 80 percent of area median income in homes built before 1978, and it can help with radon while it fixes lead. Health savings account money can help only when a medical professional recommends mitigation and writes a Letter of Medical Necessity, so check your plan before you count on it. That is the honest route to how to save money on radon mitigation, and it beats chasing a grant that does not exist.
Start with your own state health department, because most states run free or discounted test kits even where they run no mitigation grant. Check the Colorado radon FAQ and the Vermont financial assistance page on the official state sites before you apply, because programs run out of money and change their rules.
Ask every contractor whether they offer a discount for flexible scheduling, for bundling radon work with another job, or for a neighbor booking at the same time, because a crew already in your area saves travel time.
Talk to a tax professional about whether health savings account or flexible spending account funds can be used for radon mitigation in your situation. Rules depend on your plan and on medical advice, so do not assume the answer. Also ask your local building department whether a permit is needed and what it costs.
Permit fees vary widely, and a quote that includes the permit is easier to compare with one that leaves it out. The same careful comparison that helps with how to save money on a building permit also helps here, because hidden fees are the most common reason a cheap quote grows.
When you plan a larger project, keep radon in the overall budget rather than treating it as a surprise. If you are already budgeting for repairs, reading about home improvement costs can help you place the radon job in context and avoid borrowing for a cost you could have planned for. That planning step does not lower the radon price itself, but it stops a rushed decision made under pressure, and rushed decisions are where homeowners overpay most often.
How do you keep running costs low after installation?
After installation, how to save money on radon mitigation means keeping the system working without surprise repairs. Check the manometer gauge every month or two. If the reading drops to zero, the fan may have failed or the pipe may be blocked, and a failed system leaves radon rising again.
Listen for changes in fan noise, because a louder fan can mean a bearing is wearing out. Keep the vent pipe clear of snow, leaves and bird nests, and never block the discharge point with storage or landscaping.
Retest on schedule, even when the system seems fine. A retest every two years costs far less than a failed system discovered during a home sale, when a buyer may demand a new system, a price cut or a delayed closing. Keep every test result, invoice and warranty in one folder, physical or digital, so a future buyer can see the home was tested, fixed and retested.
That paper trail can protect the sale price, which is a saving many homeowners only notice when they sell.
What should you never skimp on?
Some savings are false savings, and knowing how to save money on radon mitigation means knowing which savings are safe and which are not. Never skip the after installation test to save $150 to $300, because that test is the only proof the system works. Never hire the cheapest bidder without checking certification, references and insurance, because an uninsured worker on your roof or in your crawl space creates risk for you.
Never accept a system with no warranty in writing, and never let a contractor vent radon into an attic, a garage or a crawl space instead of outside above the roofline, because that simply moves the gas to another part of the home.
Safety disclaimer
Radon mitigation involves electrical work, roof penetrations and soil gas, and even when your goal is how to save money on radon mitigation, it should be installed by a certified professional. This guide gives general information only and does not replace advice from a qualified radon professional or your state radon program. If your reading is very high, if you smell gas, if you see damaged wiring, or if you are unsure about any step, stop and call a professional.
Never enter a crawl space with standing water, damaged wiring or poor ventilation on your own. Test results, costs and program rules vary by location and change over time, so confirm current details with your state radon program and with written quotes before you commit.
Related guides
- Radon Mitigation Cost in 2026: What Homeowners Actually Pay
- How to Save Money on a Building Permit in 2027
- Home Improvement Costs in 2027: The Complete Price Guide
- How Much Does Radon Mitigation Cost? 2027 Price Guide
Frequently asked questions
How much can I realistically save on radon mitigation?
Most homeowners learning how to save money on radon mitigation save $100 to $500 by doing safe prep work and sealing, plus more by comparing itemized quotes and avoiding oversized systems. Testing first can save the full installation cost if your result does not require a system. Grants and discounts vary, so treat them as a bonus rather than a promise.
Is it safe to install a radon system myself to save money?
The EPA recommends hiring a qualified professional for mitigation. Sealing cracks and clearing access are safe prep tasks for many homeowners, but drilling the slab, wiring the fan and routing the vent pipe should be left to a certified contractor, because mistakes can leave radon high while the system looks finished.
Does sealing cracks alone fix a radon problem?
Sealing helps a mitigation system work better, but on its own it rarely brings a high reading down to a safe level. Think of sealing as support for the system, not a replacement for it. Always retest after sealing and after installation to confirm the result.
How long does a radon mitigation fan last?
Most radon fans last 5 to 10 years. Budget $300 to $600 for a replacement including labor in many areas, and keep the fan model number on file. Check the manometer gauge regularly so a failed fan is spotted early.
Should I retest after mitigation, and how often?
Yes. If you want to know how to save money on radon mitigation after installation, test within 30 days to confirm the system works, then retest at least every two years. Retesting also protects a future home sale, because buyers want proof the system still works.